 0
0


Der Panzer
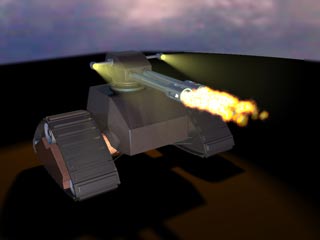
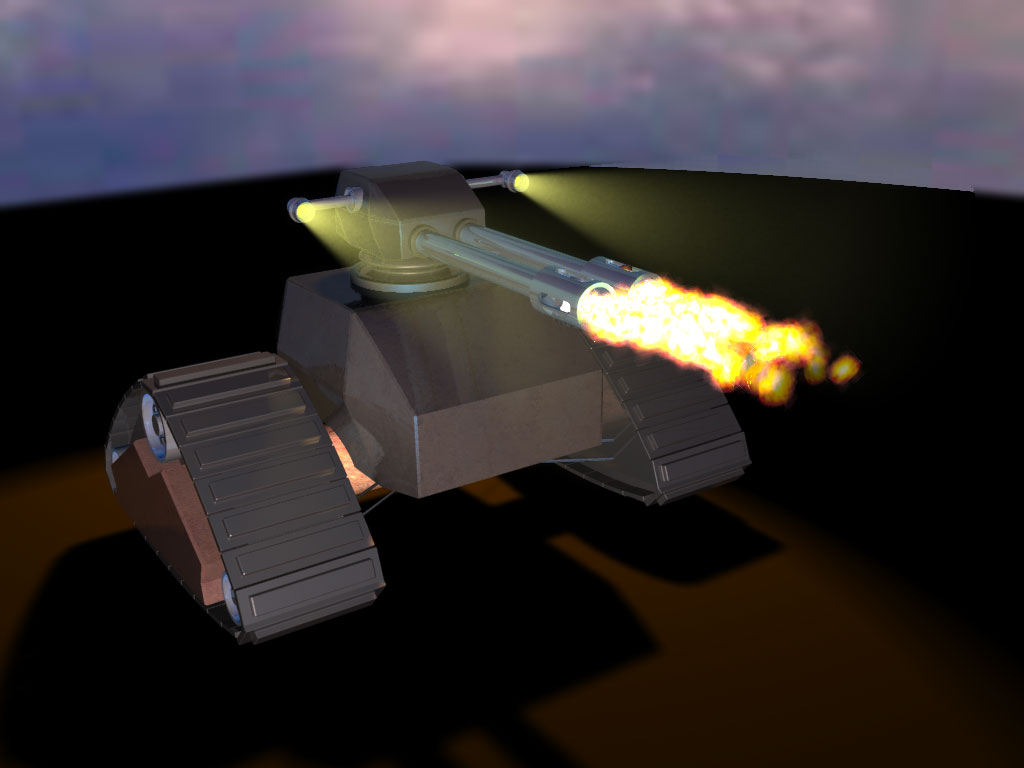
In this tutorial-series you will see a step-by-step-instruction on how to create a tank from modeling to rendering in Animation:Master.
The result can be seen on the left side.
Int the tutorial we will create a very equal but not the same image.
Requirements:
Requirements:
- Look at this tutorial first: Interface Setup
- A:M 13.0 or higher (I used A:M 15.0 for the tutorial)
- Basic knowledge in A:M is helpful but not necessary.
Materials and Helper
The necessary tutorial-files can be found here: Tank tutorial material(ZIP, 4.79 MB)
All the tutorial-parts are available in the following format:
Format: *.mp4
Compression: Mpeg 4 AVC/ACC (H.264)
Resolution: 740 px x 463 px / 1152 px x 720 px (HD)
No player installed? VLC-Player
Modeling Teil 1 - Head and body
Info: Be aware that you can not use the timeslider of the video player! If you try, the video will start from the beginning.
This is a technical limitation of the video codec and the servertechnology used!
Modeling Part 2 - Connect the head to body and model the muzzles
Info: Be aware that you can not use the timeslider of the video player! If you try, the video will start from the beginning.
This is a technical limitation of the video codec and the servertechnology used!
Modeling Part 3 - Modeling the track
Info: Be aware that you can not use the timeslider of the video player! If you try, the video will start from the beginning.
This is a technical limitation of the video codec and the servertechnology used!
Modeling Part 4 - Wheels and the brake
Info: Be aware that you can not use the timeslider of the video player! If you try, the video will start from the beginning.
This is a technical limitation of the video codec and the servertechnology used!
Modeling Part 5 - Final Modeling steps
Info: Be aware that you can not use the timeslider of the video player! If you try, the video will start from the beginning.
This is a technical limitation of the video codec and the servertechnology used!


